Wednesday, June 25, 2014

Gooey, Caramel-y, Sticky Buns

I've been seeing a bunch of recipes on Pinterest lately - overnight buns, sticky buns, cinnamon buns. Buns, buns, buns. It's been a bit since I have made any buns so I figured it was finally time. Usually when I make them per the recipe, they just aren't quite what I am looking for. The dough is too sticky to work with, the ratio of filling to topping is off, there isn't enough sticky stuff to go around... I have a bang up, go-to recipe for bread I have been experimenting with, thanks to Marye over on her blog, Restless Chipotle.

Then I found the gooeyest sticky buns I could find and doubled the... uh.. sticky. The buns were huge so I used a roasting pan, you could easily do it in 2 9" x 13" pans. Sooooooo, let's do this.


I tweaked the bread, ever-so-slightly, listed is my adapted version.

Honey Buttermilk Bread
  • 2 1/2 teaspoons active dry yeast
  • 2 teaspoons sugar
  • 1/4 cup warm water
  • 1/4 teaspoon ginger (helps activate the yeast)
  • 2 cups warm buttermilk
  • 1/3 cup honey
  • 1/4 cup butter, melted and cooled so that it is warm to the touch but not hot.
  • 1 teaspoon salt
  • 1 teaspoon baking soda
  • 6 cups flour
Instructions

Mix the ginger, sugar,yeast, and water and set aside for five minutes.
Mix buttermilk, honey, salt, baking soda in with the yeast mixture.
Add three cups of flour and mix until smooth. On an electric mixer it is about 5 minutes on low speed.
Mix in butter until it is totally incorporated into batter.
Now, begin to add the rest of the flour, one cup at a time, keeping mixer on low speed.
When dough pulls from the sides of the bowl remove it from the mixer to a floured surface and knead until elastic and smooth.
Place in greased bowl, turn to grease the top, cover and allow to rise for 1 1/2 hours.
Punch down and let rest for 5 minutes.

Now for some serious adaptations. 

I doubled the topping recipe for these Overnight Sticky Buns by Lauren Mitchell posted on Just a Pinch

1 1/3 c packed brown sugar 
6 tbsp butter  
1/4 cup light corn syrup 
2 tbsp honey 
2 tbsp maple syrup 
1 teaspoon vanilla bean paste (or pure vanilla)
1/4 teaspoon salt

Combine all ingredients in a heavy bottom pot and cook on low heat until butter is melted and it's all nice and saucy.

For the filling

1/4 cup melted butter
1 cup brown sugar
3 teaspoons ground cinnamon
1 1/2 teaspoons pumpkin pie spice

Roll out into a large rectangle, approximately 14" x 24". Stir together the brown sugar and spices. Brush dough with melted butter and sprinkle with sugar mixture. Roll tightly, starting from long end, and pinch to seal. Cut into 12 pieces, 2" long each.

Pour the caramel sauce into the roasting pan, pop in the rolls, giving them a good amount of space between each roll. 
Cover loosely with plastic wrap and let rise 45 min to 1 hour, until doubled. 
Bake at 400F for 30 minutes. Cover the top loosely with foil if they brown too fast (mine usually do!).
Let rest for exactly 8 minutes and 35 seconds - kidding. Between 5-10 minutes should be good, depends on the temperature in your kitchen, if they get too cool, they wont flip out so good. Flip out of the pan. I cover the pan of rolls with foil, place a cookie sheet on top and quickly flip them over. Foil means less mess. The only things that should be messy are your fingers and face now. 


 Mix the first 3 cups in the wet ingredients for 5 minutes, until nice and super smooth.


 Add the rest of the flour until the dough clears the sides.


 Turn the dough out onto a well floured surface.


Knead until smooth and elastic.


 I greased my bowl with coconut oil!


My secret bread rising weapon! Heating pads are awesome!


Cover with plastic wrap.


Told you they are awesome. 


 Finger poke leaves a clear indent, yay!


Punch that bad boy down. Seriously. Everyone needs a chance to punch something. 


Dump the sauce ingredients in.

Stir and melt!


Brown sugar mixture and butter prepped!


Rolled the dough, brushed with butter and sprinkled with sugar.


 Roll it up!


Pour the sauce int he pan and add the rolls. 


Space those suckers, they need room to grow.


Told you.


Fresh out of the oven.


Flipped!


Devoured. Sorry, couldn't take a picture fast enough.


Wednesday, June 4, 2014

Meaty Marinara and Crusty French Bread

My mom was asking for spaghetti, I couldn't resist! This is my great-aunt Ruth's recipe. It's really cool to be able to share a family recipe. It seems like I am always sharing other blogger's recipes, and yes, I still am in this post too! As I expand on my confidence in the kitchen, more and more of them will be my own :) I don't know about you, I am always just so nervous about wasting a bunch of ingredients. Plus, failure, ya know. Nobody likes that! Now that I have more time to cook and create for my family and friends, I have vowed to be more adventurous!


It's meaty, rich and simply delicious. I paired it with a new recipe I tried for french bread. I don't think I will eve buy french bread again - unless of course there is an emergency bread situation. I think the bread took a total of about 2 hours and 15 minutes to make start to finish!

Aunt Ruth's Marinara

1.5lbs of lean ground beef
1lb of Jimmy Dean Sage or Regular sausage
1 medium onion, chopped
3 29oz cans of tomato sauce
1 29oz can of crushed tomatoes
1 12oz can tomato paste
2 good-sized tbsp of minced garlic (or less, I love garlic)

To taste:
1-2 tbsp sugar
Basil
Ground Cumin
Thyme
Oregano
Salt

Brown the ground beef, sausage and onion together - drain well. I usually cook mine in the crockpot and it fills it up quite full initially. Combine the ground meat mixture, tomato sauce, paste and crushed tomatoes in your pan or crockpot. I would add your tomato sauce last in case your pot is smaller than mine. Add in the garlic and sugar. The rest of the seasonings are to taste because that's the way Aunt Ruth wrote it down! The amounts all depend on whether you are using fresh, dried of ground spices. Fresh gives you the best flavor but most of the time, dried is whats on hand and it's always delicious. Once the sauce is flavored to your liking, cook for several hours on low. Taste it again after a few hours and re-season as needed.


French Bread
1 1/2 T instant yeast
1/2 C very warm water
1 1/2 T sugar
2 C water
1 1/2 T oil
2 1/4 t salt
6 C flour

The instructions can be found on Autumn's blog "It's Always Autumn" by clicking here!


The only changes I have (and I dont even know if they were for the better!) are that I used half bread flour and one packet of instant yeast and one packet of active dry because that all I had and I was running low on AP flour!

That bread is amazing and it's so easy! It's crusty and delicious on the outside and chewy and soft on the inside. I have never had french bread this good. It pairs perfectly with Aunt Ruth's Marinara.


Thursday, May 29, 2014

Red Velvet Cupcakes with Cinnamon Ermine Frosting and Blueberries


This week is my last week at work full time! I will stay on the books as an employee and I may do some very part time work from home if they need me, but I am now free to be a stay-at-home-mom(SAHM)! I am so very thrilled and so is the hubster and the little bubster. As a special treat to my coworkers I told them I was bringing in something this week. My boss asked for Red Velvet and I couldnt resist! It's been so long since I have made anything red velvet and the last time didnt turn out like I wanted so I was up for a challenge.

First things first, I found a recipe from another blog I love: The Culinary Alchemist. The blogger, Shane is even an Oregon boy! I love the science approach to baking. It's something I really want Zane to learn as I teach him how to cook and bake. One day, his future wife will love me!

Red Velvet Cupcakes and Ermine Frosting

I did 2 batches and baked them into cupcakes instead of layered cake for easy serving and transport. I wouldn't recommend doubling the batch at once unless you have help. The recipe calls for quick action and you'd need an oven large enough to hold 48 cupcakes at once!

I didn't do so well at pictures of the process this time because I was baking with mom and it was just too much fun. Our second batch came out better in my opinion. I think it was because we worked a little quicker.

Here is the color of our creamed sugar and butter for round 2:


While mom whipped the eggs in, I got the color/cocoa mixture ready. Be careful with it, it's a very intense mixture and will stain easily! Lookie there, I did line up the cocoa mix, buttermilk and flour/salt bowl!


I couldnt really take pictures of the vinegar/baking soda because you have to work so fast! I took a picture of them in the pan but realized too late that the shot didn't come out :-( I got 24 cupcakes out of each batch of batter.

For the frosting I followed the recipe but used vanilla bean paste (the best stuff ever!) and I added in about a teaspoon of ground cinnamon. My go-to froster is the 1M tip. Easiest way to frost a cupcake! 3 fresh blueberries and the prettiest little cupcakes you ever did see.


That Ermine(boiled milk) frosting isssssss a little bit of work so you should definitely enjoy a cup of your favorite brew with your hard earned (but so, SO worth it) treat. 


Monday, April 28, 2014

Finally, Peanut Butter Cup Cupcakes! (and baking pan grease)


I have been wanting to try this idea out forever. I tried it Easter weekend with minis but my cupcakes wouldn't come out of the pan (yes, there was a reason I didn't use cupcake liners!).

I also found a recipe for baking pan grease somewhere in the comments of some blog or yahoo answers page. I am SO sorry I don't remember which or I would give credit where it's due. It is said to be something commonly used in bakeries, though I have never worked in a bakery (or food service at all for that matter) so I wouldn't know.

Baking Pan Grease
1 cup shortening
1 cup oil ( I used Canola)
1 cup flour

I threw them all in a bowl and blended with my mixer on high til smooth. I put mine in a Tupperware container and put it in the fridge. I don't know if that is necessary though. To use just brush on with a pastry brush.
 
 
Peanut Butter Cup Cupcakes
This is the same recipe I used last time. This time I made full sized cupcakes and used the above baking pan grease and they popped right out!

Peanut Butter Cupcakes from In the Kitchen with KP. I got about 36 cupcakes. They were a little flat but they were sturdy and moist, which was perfect for this project.


The batter is thick and delicious. If you eat too much of it then I cant guarantee how many cupcakes you will get out of the recipe. It is seriously good batter.

 
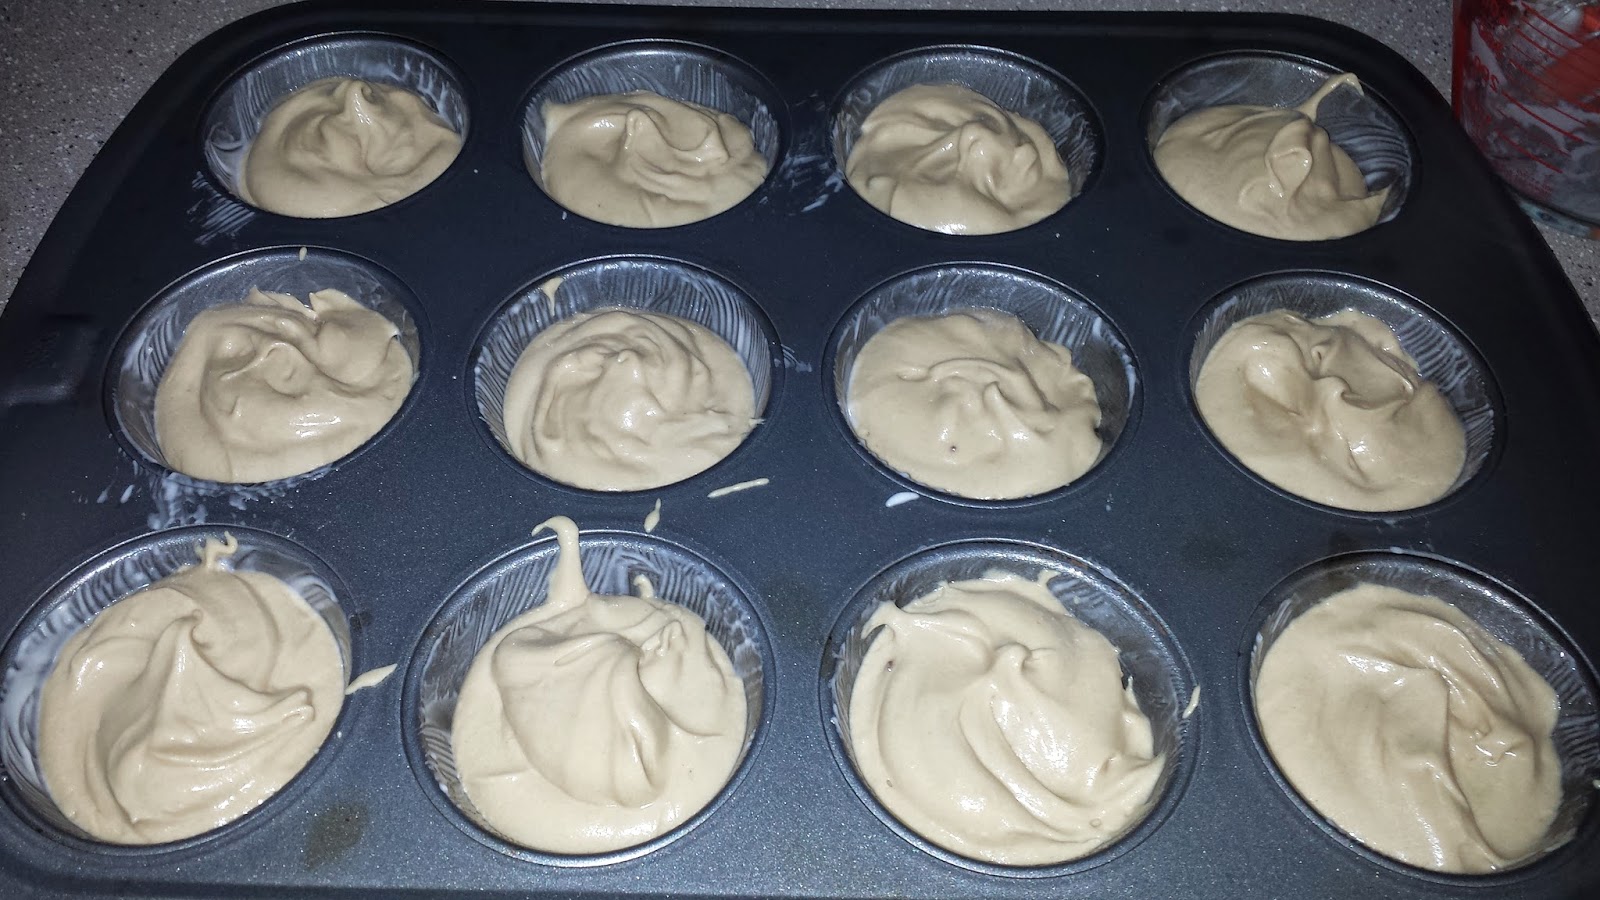
Thick batter makes it easier to get into the tins, yay! Make sure you DON'T use any liners!

(I forgot to take a picture of them straight out of the oven)

I looked up a ton of different peanut butter cream filling recipes and borrowed from all of them. Here is what I came up with:

Peanut Butter Cream Cheese Filling

1 cup creamy peanut butter
8 oz cream cheese, softened
1/2 cup butter, softened
4 cups powdered sugar (approximately)
1 tsp vanilla bean paste (or pure vanilla extract)
2 tablespoons-ish milk

Cream together the first 3 ingredients until smooth and beat in the powdered sugar. Get it nice and fluffy and a little on the stiff side (Sorry! I rarely actually measure these types of things). Mix the vanilla and enough milk to get it to your desired filling consistency. I had about half a recipe left over after filling mine, it's going in the fridge. I always like having frosting and fillings on hand! It would make a delicious brownie topping!

Once your cupcakes are cool, pop the centers out of them with a fork and fill them. I stabbed a fork halfway through them to form a circle and pried them out (boy, I make it sound like work).


If you have a melon baller, feel free to use one, I just don't have one. Also, for neater cupcakes, you can always pipe the filling in. Once filled, I put the tops back on. I did find that I needed to shave off about half the cake attached to the top in order for the top to fit back on decently. Take one guess where the middles went.

Melt about 3/4 of a package of almond bark (about 10 ounces). I microwaved mine in a wide mouthed glass measuring cup (2 cup size). Dip the cupcakes about 3/4 of the way in. I was going to go all the way to the rim but I realized for the sake of slightly cleaner fingers (while making them and eating them), I should leave a little room to hold the cupcake.


All that's left is to frost and enjoy!
 
 
Chocolate Fudge Frosting
 
This one is seriously a little all over the place because I didn't want to go to the store and I wanted it deliciously chocolatey.
 
3/4 cup evaporated milk
1 cup milk chocolate chips
1 cup cocoa powder
1/2 cup butter, softened
4-5 cups powdered sugar
1 tsp vanilla bean paste (or pure vanilla extract)
2-3 tablespoons of milk

In a small saucepan, heat the evap milk over low heat and add in the chocolate chips. Stir until melted and combined. In a medium bowl, add cocoa powder and melted chocolate. Beat on medium with a hand mixer until smooth. At this point I added 2 cups of powdered sugar and mixed again. When it was smooth and I was sure it wouldn't melt the butter I tossed that in there too and continued mixing. I added in the vanilla and the rest of the powdered sugar. Add in a few tablespoons of milk until it's a nice piping consistency. Fill up a bag and frost. I used a 1M tip. Here are the rest of the pics!


 Enjoy. These are rich, delicious and definitely worth the work.


Sunday, April 13, 2014

PB Cup Cupcakes

These are the other cupcakes I brought to the shower. I had pinned the recipe on everyone's favorite time waster (guilty as charged) and the mom-to-be liked it so I figured I better give this one a go! 
Here is the recipe I used. Erica's Sweet Tooth has some awesome looking recipes! I made the recipe exactly as written and they turned out delicious! We got rave reviews on these ones as well. I found some mini Reese's pb cups so we used those for toppers!


I have a very cool idea brewing the back of my mind for some extremely awesome Reese's inspired cupcakes so as soon as I get a chance I will make and post them!

Vanilla Cupcakes with real vanilla bean paste

The baby shower cupcakes were a huge success, at least with flavor. For some reason, my mini white vanilla cupcakes sunk and yet the few full sized ones I made turned out great with a decent dome. The flavor was awesome. Let's talk about those vanilla ones first. Here is the recipe I used for the cupcakes and the frosting. I had previously tried the cupcake recipe listed with the frosting recipe but I wasn't that thrilled with my results. They didn't seem to rise much and the texture was off. Totally could have been something I did. I do have some tips and adaptations for you so here they are!


The Cupcakes - The method was a new one for me. It has you measure all the dry ingredients and the sugar and then use your electric mixer to cut in the butter. In the recipe she calls for softened butter, cut into chunks then added to the flour. I had to throw my butter in the fridge in order to get it firm enough to cube. Once I had it in the flour I quickly realized that softened butter was not the way to go. I threw mine into the freezer and let it firm up before I finishing cutting it in. That was really my only change to the recipe. Otherwise there is NO WAY it could have ended up in the "crumb" state we were looking for.


 I have a feeling the down fall I experienced was related to the size considering the full-sized cupcakes turned out great. I think I got 48 cupcakes and 6 regular sized out of the recipe.

The Frosting - The recipe as written is wonderful, but since my cupcakes were light and fluffy (like I could resist trying them?) and the day was warm and springy I wanted something a little lighter than traditional buttercream. I ended up added bother tablespoons of cream and adding about a cup full of cool whip and folding it in at the end. It was perfect. I loaded the light, speckle-y vanilla bean frosting into a bag with a 1M tip and they were frosted in minutes. 

Sorry this pic isn't the best but according to everyone at the shower, they were a smashing success!


Friday, April 11, 2014

Vanilla Bean Paste + Cupcakes

Whilst looking up recipes for a vanilla cupcake recipe for an upcoming baby shower, I came across this recipe for Perfect Vanilla Cupcakes. After reading Dorothy's description of the sinful sounding vanilla she had going on there (who knew VANILLA could be sinful?!?!), I was convinced I needed to get me some vanilla bean paste. I researched a bit. Apparently it's not that easy to come by. Since I have been so busy with work lately and a deadline coming up, I opted to order some online from amazon. I grabbed some of this Nielsen-Massey Vanilla Bean Paste and got 2-day shipping (never so happy I forgot to cancel our Prime membership, I love the free shipping!).


First of all, it smells divine, looks like syrup and comes in an old-timey looking bottle, I was pleased. I tried it out on the Perfect Vanilla Cupcakes recipe I mentioned above. They turned out pretty decent. They didn't quite dome the way I like them to but they were definitely delicious.

Instead of the frosting and vanilla filling, since this was a test batch, I opted for some of the homemade caramel I had in the fridge with a little ground sea salt on top. Wowza. Simple and not overly sweet or complex. Just simple vanilla and caramel with a touch of salt to keep that sugar in line. Next time I make caramel I will definitely post my pictures but this is the video I used to figure out how to make caramel without a candy thermometer! I didn't use the recipe in the video but her how-to is clear and easy to follow.